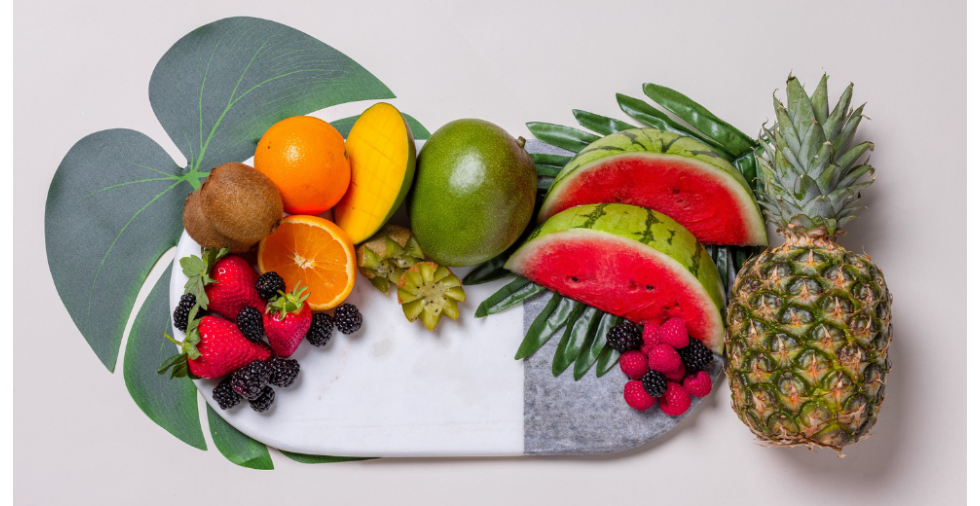
A fruit grazing board is the perfect starter for summer and best served with a side of sunshine. Instead of your typical cheese and cracker board that can be quite rich and heavy, a fruit grazing board is light and fresh, perfect for warmer weather. You can even change out the fruits to whatever is in season near you so you can enjoy these boards year-round.
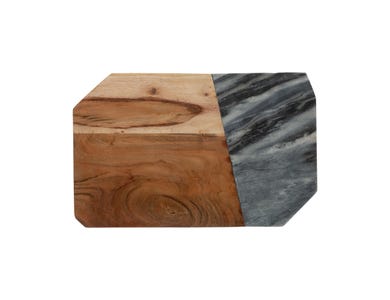
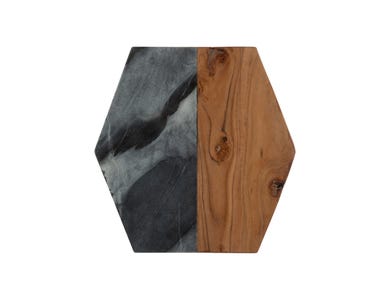
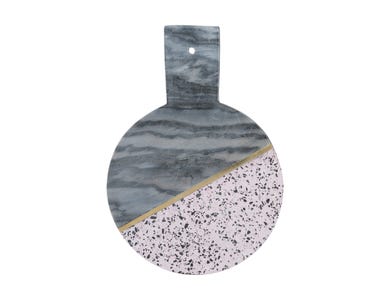
Start your board with Elements


What you’ll need:
- An Elements serving board
- Large fruits like papayas, pineapple, watermelon, bananas, mangoes
- Smaller fruits like kiwis, passionfruit, oranges, and berries
- Tropical leaves, nuts and dried fruits are optional
Step 1 : Prepare your fruits
Make sure to wash all your fruits (with the skin on) before cutting or putting them on your board together.
We recommend washing your fruits in 1 part distilled white vinegar and 3 parts cold water, this will remove any bacteria from the fruits surface and prevent it from seeping in when you’re cutting them.
Cut your fruits into different sizes to create more dimensions to your board.
Step 2 : Lay out your base
Start by laying out some tropical flowers and leaves like banana or palm leaves on the base of your board.
Then, add in large fruits primarily around the edges. You can save the peels from the bigger fruits like the pineapple to add as decoration to your board. These bigger pieces will create a border around your board.
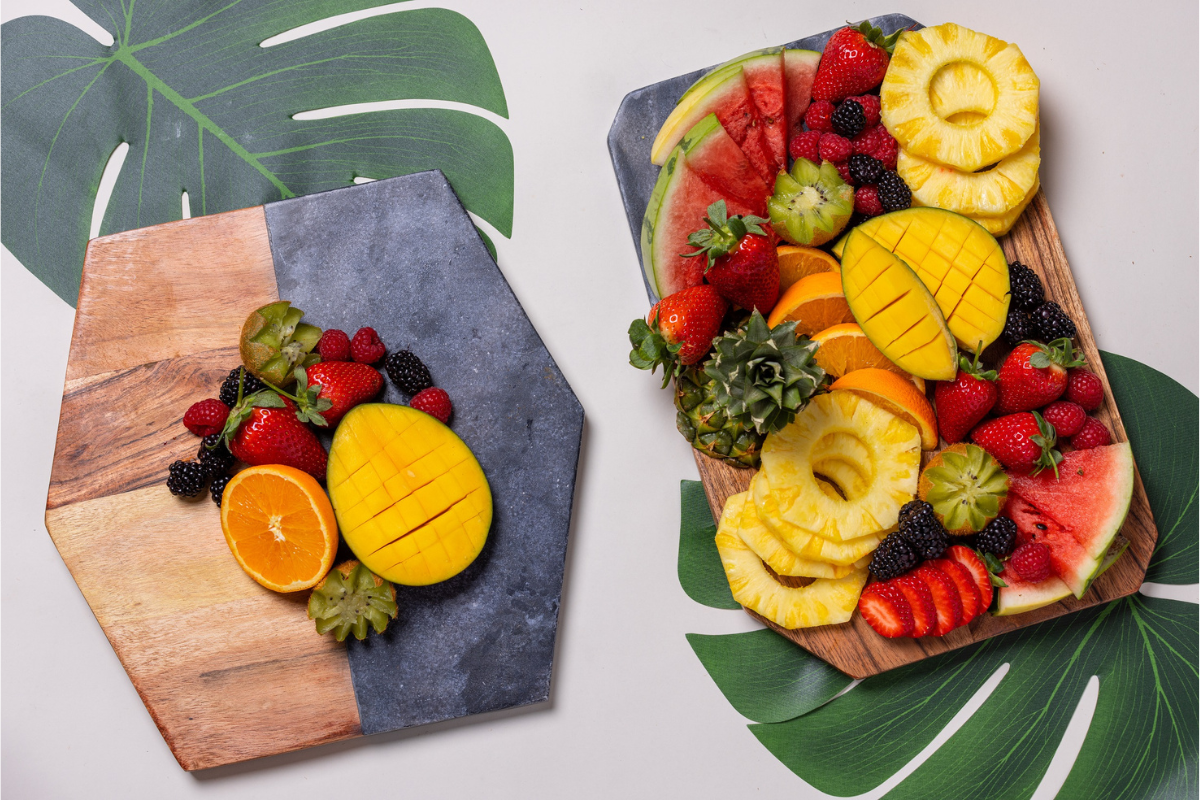
Step 3 : Layer in smaller fruits and slices
Add in the smaller fruits in the centre of the board. You can cut up the fruits in fun designs like a kiwi flower* or an apple rose to create more texture to your board.
*To cut the kiwi into a flower, make long diagonal cuts through the kiwi’s side to the centre by plunging the tip of your knife into the centre of one side of the kiwi at a 45 degree angle and then cut it again on the other side to create a ‘zigzag’ pattern. Continue making connecting diagonal cuts around the whole kiwi and pull it apart to reveal your kiwi flower.
Step 4 : Fill in any empty spaces with extra ingredients
Once all your fruits are on the board, you can fill in any empty spaces with dried fruits, nuts or even tropical flowers like fresh Jasmines or hibiscuses.
Be sure to keep your board chilled in the fridge before serving to keep the fruit nice and fresh.
Step 5 : Serve!
Serve up your delicious fruit platter with some cocktail sticks and a cold fresh beverage. You can try our Citrus Peech Cooler recipe here.
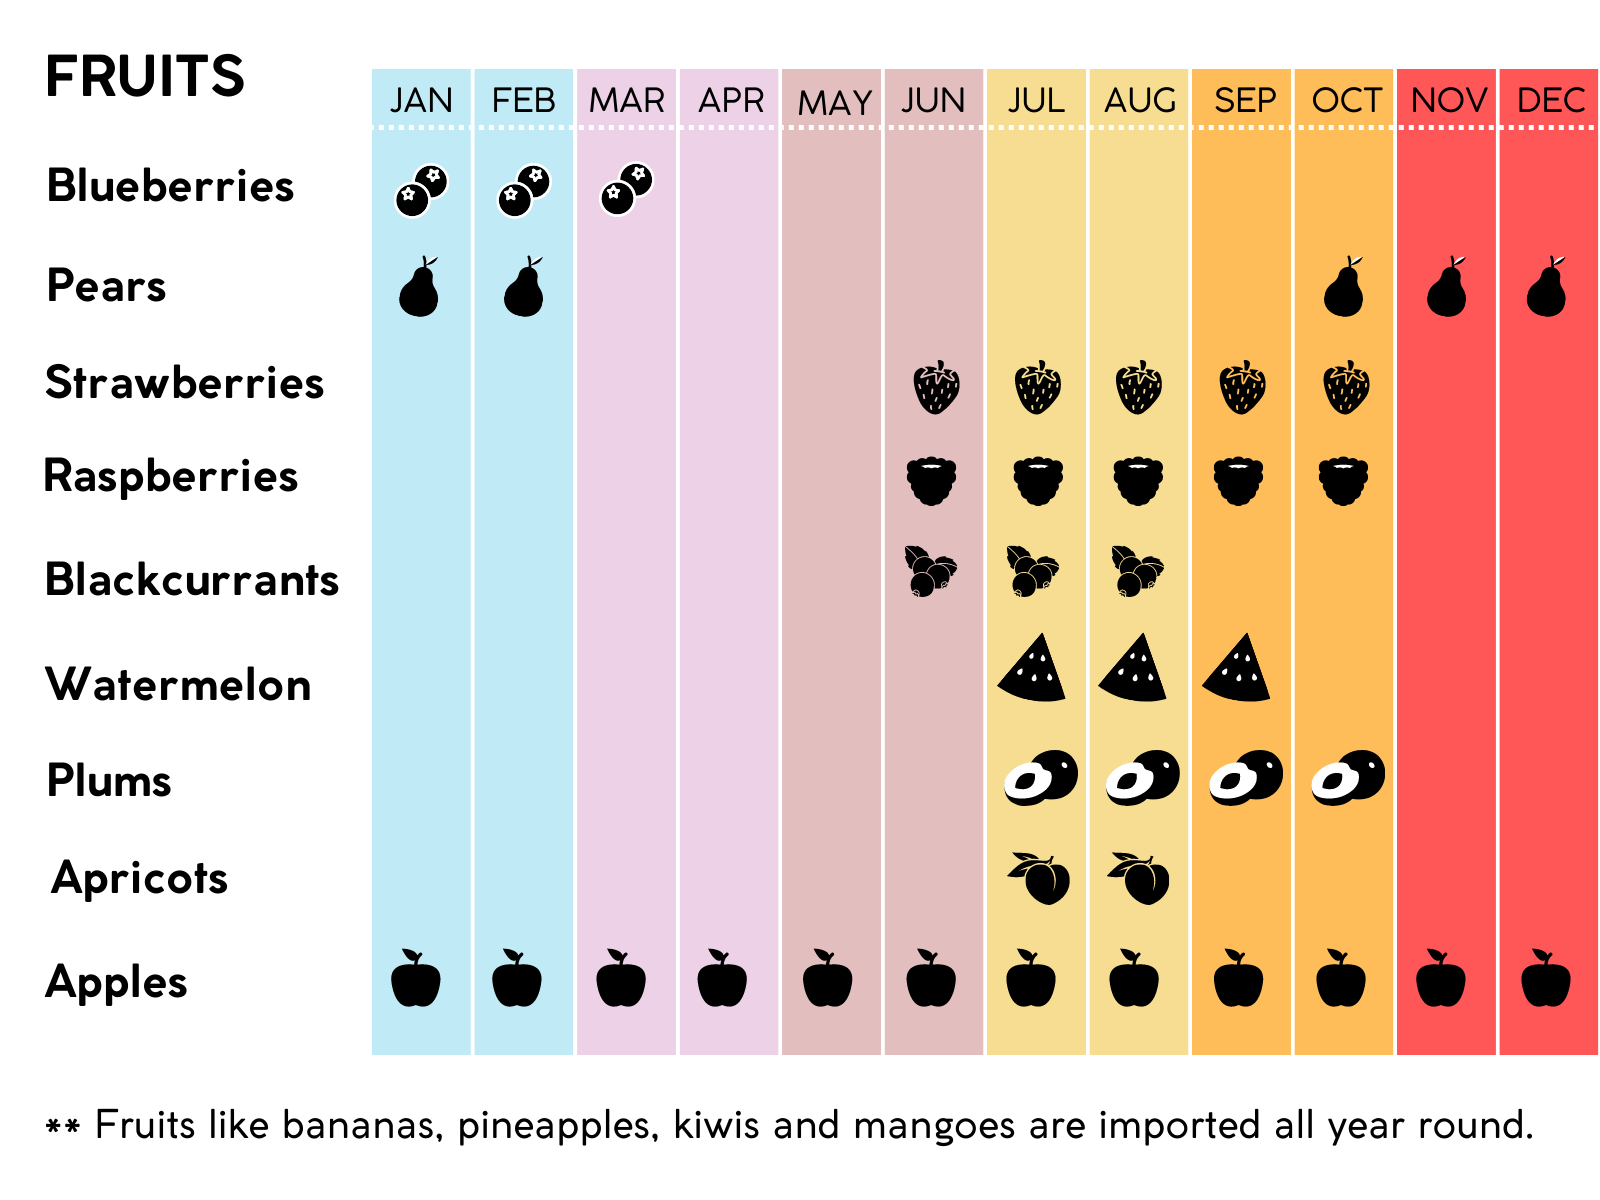
To help you pick out the freshest fruits for your board, have a look at our seasonal fruit guide
*This chart applies for UK only